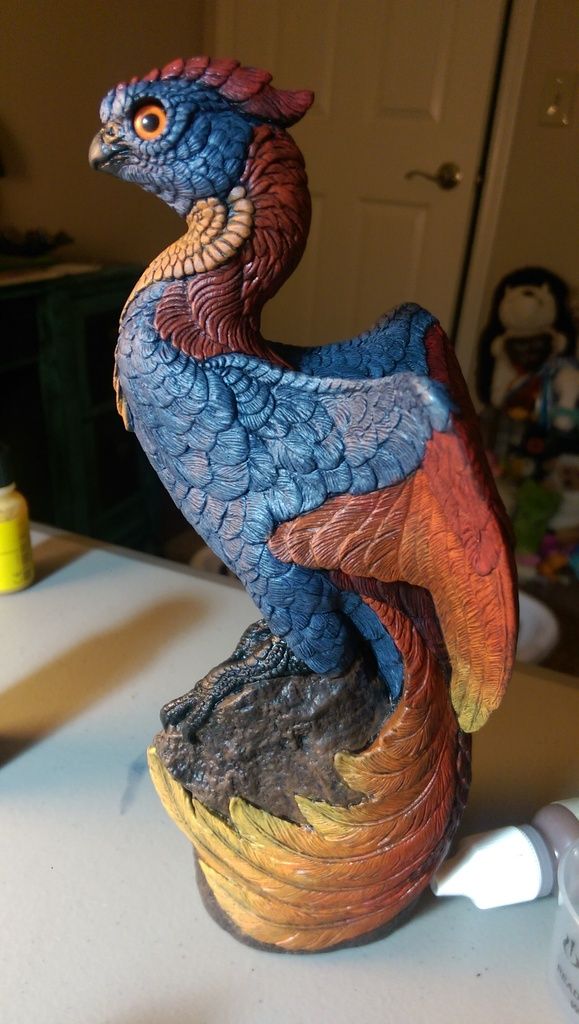
Forum Replies Created
-
AuthorPosts
-
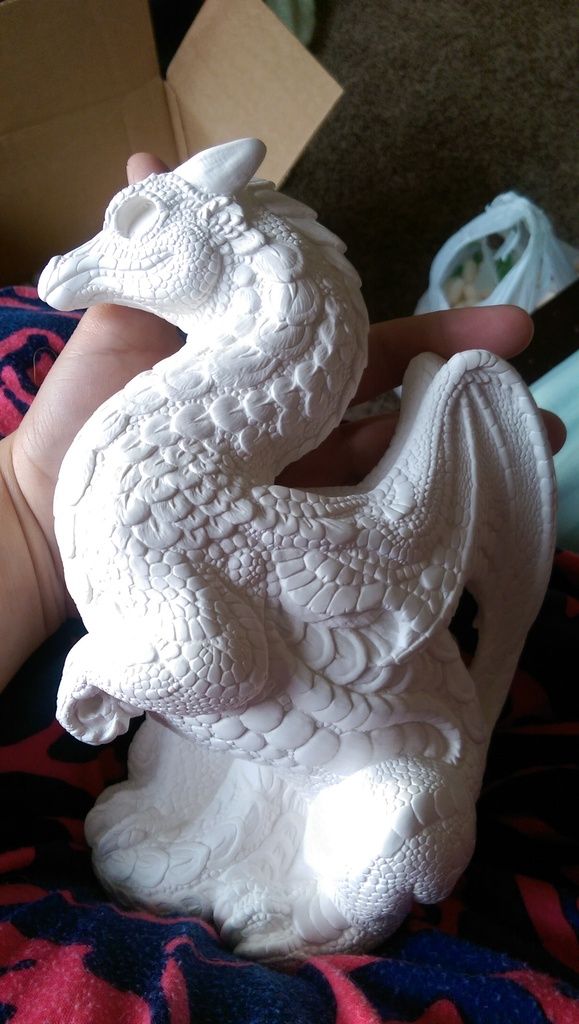
I’m sitting here with this beautiful blank figure in front of me, and now I’m second-guessing my color scheme.
*sad face*
I’m in!
Liquitex Gloss Varnish. I bought it at Hobby Lobby. I like the gloss on my dragon, but I wish I would have gone with satin for the phoenix.
Wow, the effect of that wash turned out great. I’m curious, how does a wash work, exactly? I have a PYO that I’ve been workng on for a while, and I need to add some depth to it once I’m satisfied with the over all colors. I bought staining media (the decoart stuff people have suggested before) but I’ve never actually done anything like it, so I’m quite nervous…
The way I do my washes is to take a very thin paint (VERY thin. This time I added water and slo-dri, but medium would have been a better choice), and apply it liberally to the whole piece. You can use different color washes for different areas for increased control over the exact results, but I’ve had very good results with a Payne’s Grey wash on most colors. The idea is to get the pigment to pool in the recessed areas, making shadows.
After my washes, I dry brush over the washed areas to bring the color back up. Occasionally I will do highlights over this, depending on the effect I’m going for. With a piece as colorful as my phoenix, the colors didn’t really need a brighter highlight.
It is very important to let your wash DRY. You can’t dry brush over wet, and those little nooks and crannies can hold moisture longer than you might expect.
I also brush coat my varnish on. I don’t trust spray clear coat after ruining several pieces because of the unpredictable outdoor conditions here.
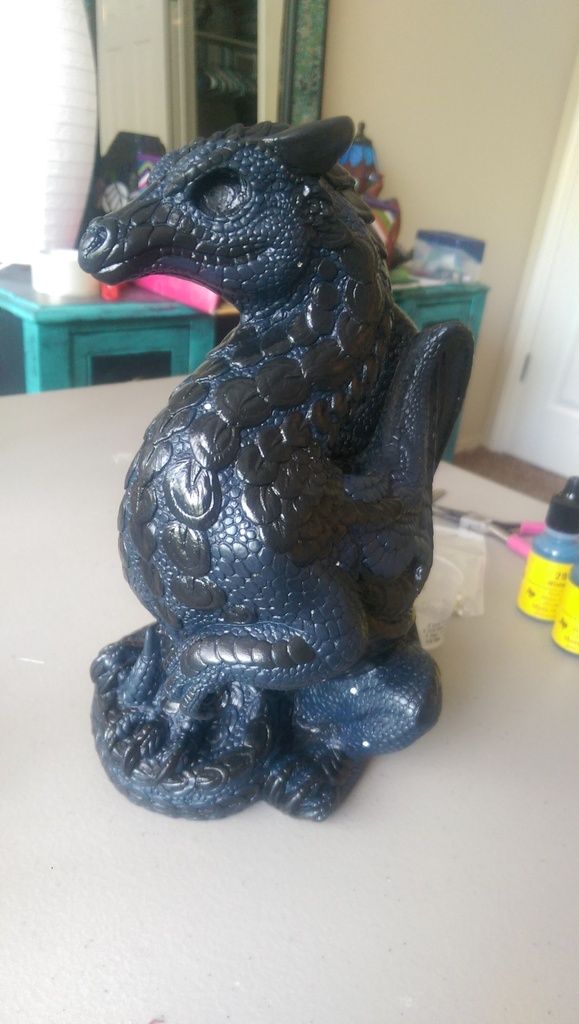
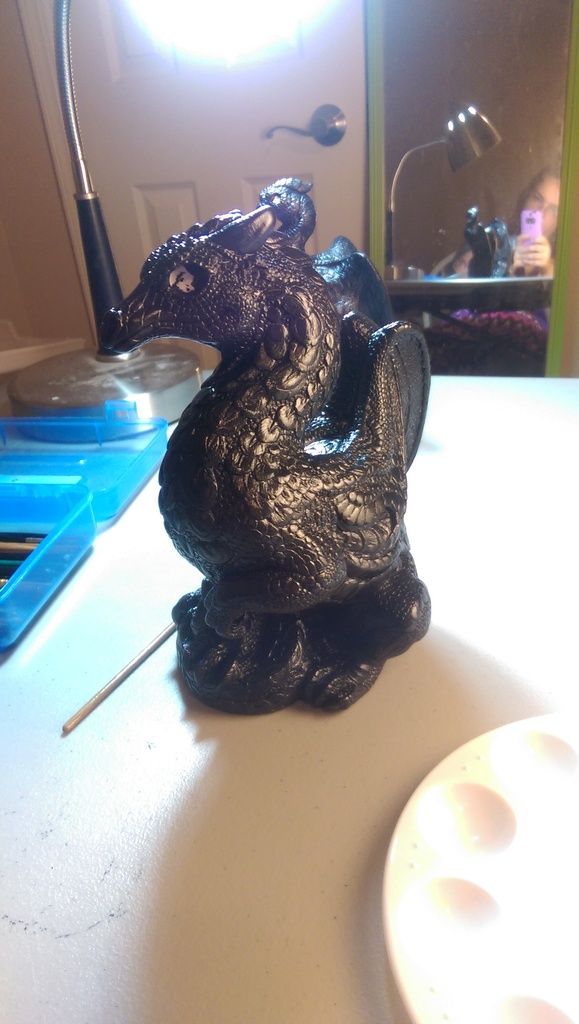
He’s done. He’s gorgeous. But pictures are a problem, as he’s a very dark midnight blue with black, who is glossy and has very bright rhinestones. The pictures don’t turn out.
I kinda want to do a foo family now. But this dragon first!
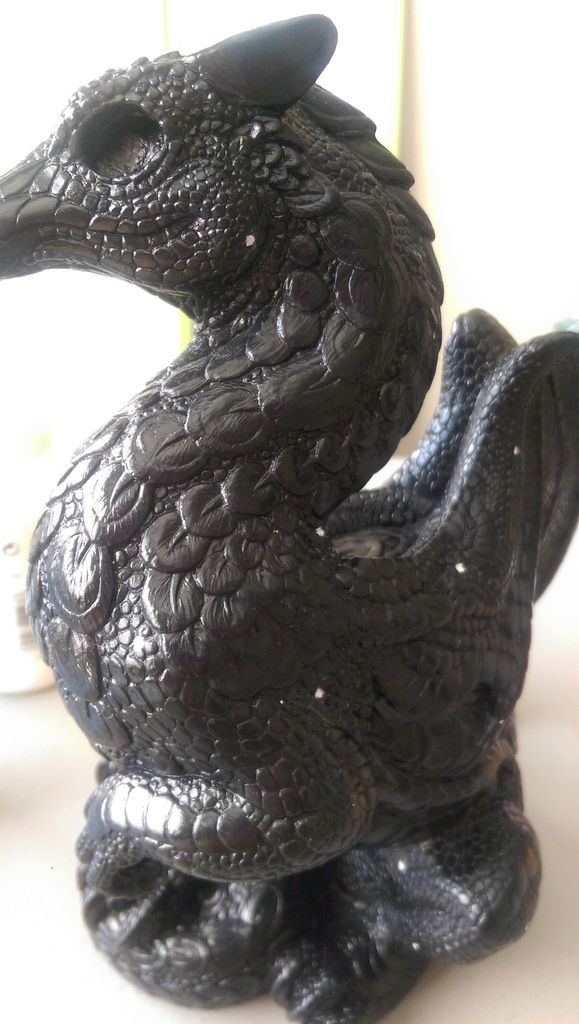
The white dots are the holes for stones. I had to paint them with white dots because I was afraid I wouldn’t be able to find them after I painted.
I always enjoy progress shots…they educate me. I am not artistic whatsoever, and in my simple mind, the PYOs come out looking the way they do after 1 simple coat of paint lol….so yeah…I enjoy seeing the work that goes into them! Your Phoenix turned out great, and I’m anxious for the Keeper. Were you nervous drilling holes into it?
Thanks for sharing with us 🙂 Looking forward to seeing Orion (or whatever you decide to call her)!
Some people said that the gypsum tends to crumble when drilled. I decided I really wanted the look that setting the point-back rhinestones would give, so I went for it. Worst case scenario, order another keeper for this particular gift, repair the damaged one as best I could!
But it turned out great!
Process shots on this one are difficult. I primed him black, painted all the small scales a very dark blue, and now I’m going back and painting the large scales black again. Black on dark blue is a photography nightmare… But my inspiration is the night sky, so!
I’m debating edging the fancy scales in a dark silver to add some contrast. I’ll try to get some pictures later.
I’m starting on this PYO. I’m using a small hand drill (a pin vice) to drill the holes, and it’s working quite well. Feel free to check out my other thread (kohl777s PYO thread) for progress shots.
Black base coat again. This is the keeper I want to be spangled with very small gems. After weighing my options, I don’t think flat backs are going to do what I want… So I broke out the pin vice.
The white dots are where I drilled very small indentations for stones to sit in.
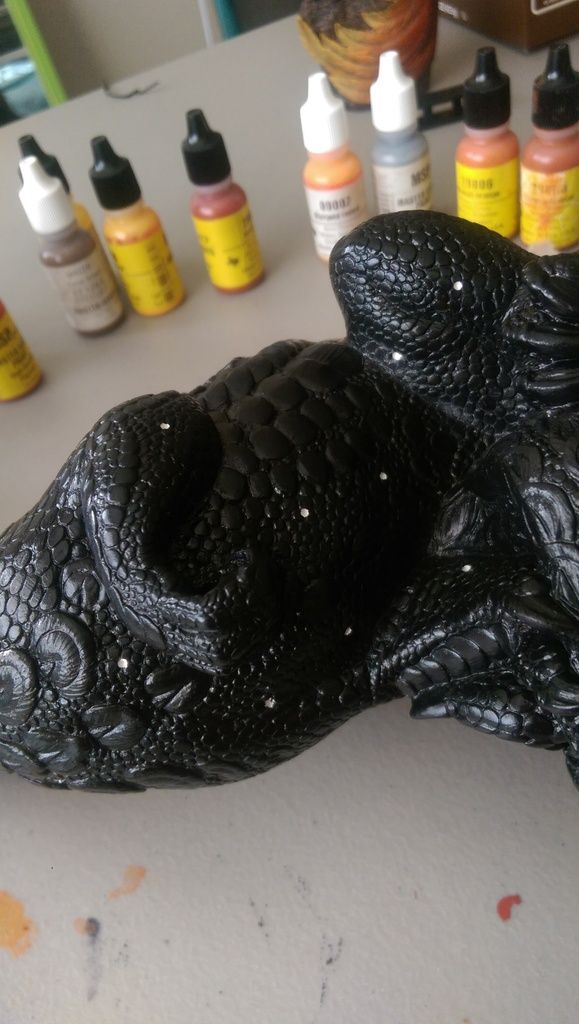
Another view of the holes. It worked like a charm, no crumbling, no mishaps. I’m really excited to dig into this one.
I want in on the next one!
And you just brush everything back up a little, and BAM! Depth and clarity. This bad boy is pretty much finished. The eyes aren’t glued yet, and I still need to clear coat him. I tend to use a brush on finish, because I don’t trust aerosol, especially after putting so much work in.
I’m really happy with how he turned out. I haven’t painted in a year or more, so I was worried that I’d be rusty, but this was amazing, start to finish.
-
AuthorPosts
